Monday, September 24, 2012

Fall Fireplace Decor

Well, we're to our final stop in the fall decorations tour...the fireplace! I rearranged it a million times, but am finally satisfied with it. I used things I already had on hand except for the burlap bunting that I made.
The candles and candle holders are part of my everyday fireplace decor. I just dressed them up with a little burlap, raffia, and a leaf from some silk stems I've had for a couple years now. The wire pumpkin is one of my favorite fall decorations. I scored it at Target a couple years ago. I splurged and paid full price for it, but at $10, it was still very reasonable!
The clock and books are part of our everyday fireplace decor as well. I just switched out our usual flowers with a leaf arrangement. I used a vase that we saved from our wedding with some stems I had on hand from a couple years ago. I picked the mini pumpkins I used as filler off of some fall picks I found at Michaels this year. The leaf garland was last year's after season Michaels clearance find. It was 75% off- I only paid $2.50 for it!
For the final touch, I made a burlap fall bunting/banner with the leftover burlap from the dining room runner. I love making banners for special occasions! A couple years ago for Hubby's birthday, I made him a birthday banner which he really liked. Now, I make banners for every birthday and various other holidays. With how much I love Fall, I figured it deserved its own banner, right?! :) I'll do one last fall post with more specific directions for the bunting and my other fall diy projects from this year. Stay tuned!

I'm linking up with Centsational Girl for the It's Fall Y'all link party!

Saturday, September 22, 2012

Caught Red Handed

More confessions... I'm a sugar-holic. I LOVE sugar and will eat just about anything sweet. I'm trying to be better about going for fruit instead of the bag of chocolate chips when I get a sweet craving, but sometimes I treat myself to a dessert. I try not to buy sweets too often because I know I will devour them and I hardly ever bake desserts for the same reason. Amy M, stop laughing. Just because every time we are in Target together I buy a package of Oreo's doesn't mean I do it every time! And we just won't discuss the Tootsie Rolls I eat on the way out of the gym, k? I mean, what's up with the gym having a giant bowl of Tootsie Rolls (one of my favs) setting out right by the door?! :) Hahaha!

Anywho...today, I'd eaten some grapes and was fine for a while, but I reeeeaaaalllly wanted a dessert. I'd been pretty good this week and only had dessert once at a friend's house and a couple chocolate chips here an there. And I mean only a couple, not a couple million handfuls--honest! I had refrained from buying Oreos and ice cream at the store this week so it wouldn't be so tempting. So...I resorted to my "emergency dessert". Thanks a lot Bake at 350 for that one. ;) We won't even mention how many of these I've made. Basically, you take a tortilla, sprinkle with chocolate chips (I added a little peanut butter and Nutella), fold it in half and cook it like you would I quesadilla, then sprinkle with powdered sugar. It's so good and we usually have the ingredients on hand. Dangerous!

Fast forward... Little One is napping and Hubby is enjoying some down time playing a video game, and I'm chilling on the couch enjoying my dessert. I was intently reading something and subconsciously sticking out my tongue and dipping the tip in the giant pile of powdered sugar on my plate. About the third dip, with my tongue sticking out and the plate held up to my chin, I feel eyes on me. I freeze, look up with my tongue still out, and find Hubby turned around in his chair gawking at me with an amused grin on his face. Seriously?! You look up now?! So embarrassing and so hilarious. I could not stop laughing. Tears just streaming down my face. I am not a finger licker when I eat (gross) and am a bit OCD about being clean, so dipping my tongue in sugar right off my plate is way out there for me. And to be caught red handed?! Geesh. Hahahaha! Hubby had a good chuckle over it. Too bad I didn't catch his facial expressions on camera. He does not share my sugar love. This year for his birthday, he told me he didn't want cake or any dessert. Crazy man. He totally did not understand my sugar licking.

Needless to say, I won't be licking powdered sugar anymore (I'll go for the spoon next time!) and am definitely going to have to walk a couple miles tonight to burn all those calories off! Tell me you've been caught red handed doing something ridiculous, too??!!! Someone, anyone?!

Thursday, September 20, 2012

Fall Door Decor

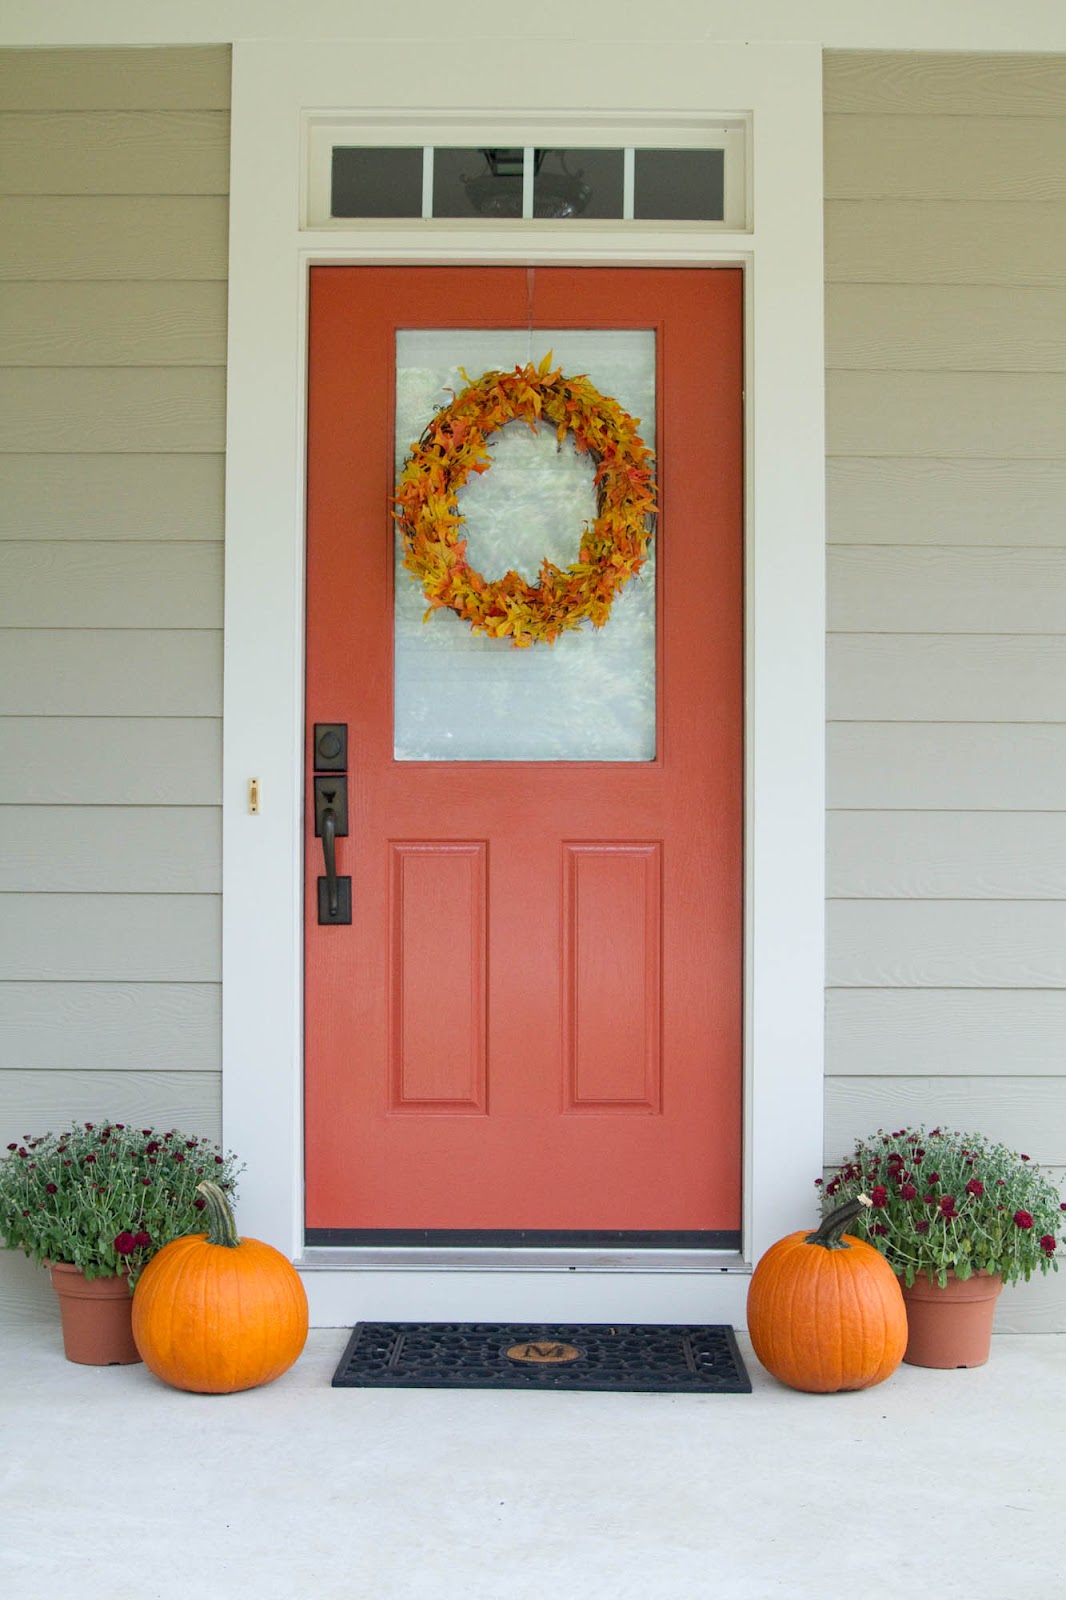
Continuing on with my fall decorating extravaganza...let's take it outside! I love, love, love to decorate the front door for fall! It's so festive and makes me smile when I pull into the driveway. Or when I go get the mail. Or when I go outside just to look at my pretty pumpkins on the stoop. Heh heh. ;)
I made this wreath in about 20 minutes for less than $7! I found a large grapevine wreath at Michael's for $2.99 and a package of preserved autumn stems for $3.50. I simply cut the stems to the length needed and hot glued them onto the wreath! I decided to hang it on a $1.99 cheapo clear wreath hanger instead of the nicer black, metal hangers because the front door is colored. I liked that the wreath hanger doesn't draw your attention away from the wreath. I love the color of the front door with this wreath. Of course, within an hour of hanging my wreath, a bird tried to make a nest in it, so I had to go back around with the glue gun and secure some of the leaves. Thankfully, the bird has left it alone since, although my hubby was sad he didn't get front row bird watching seats. ;)
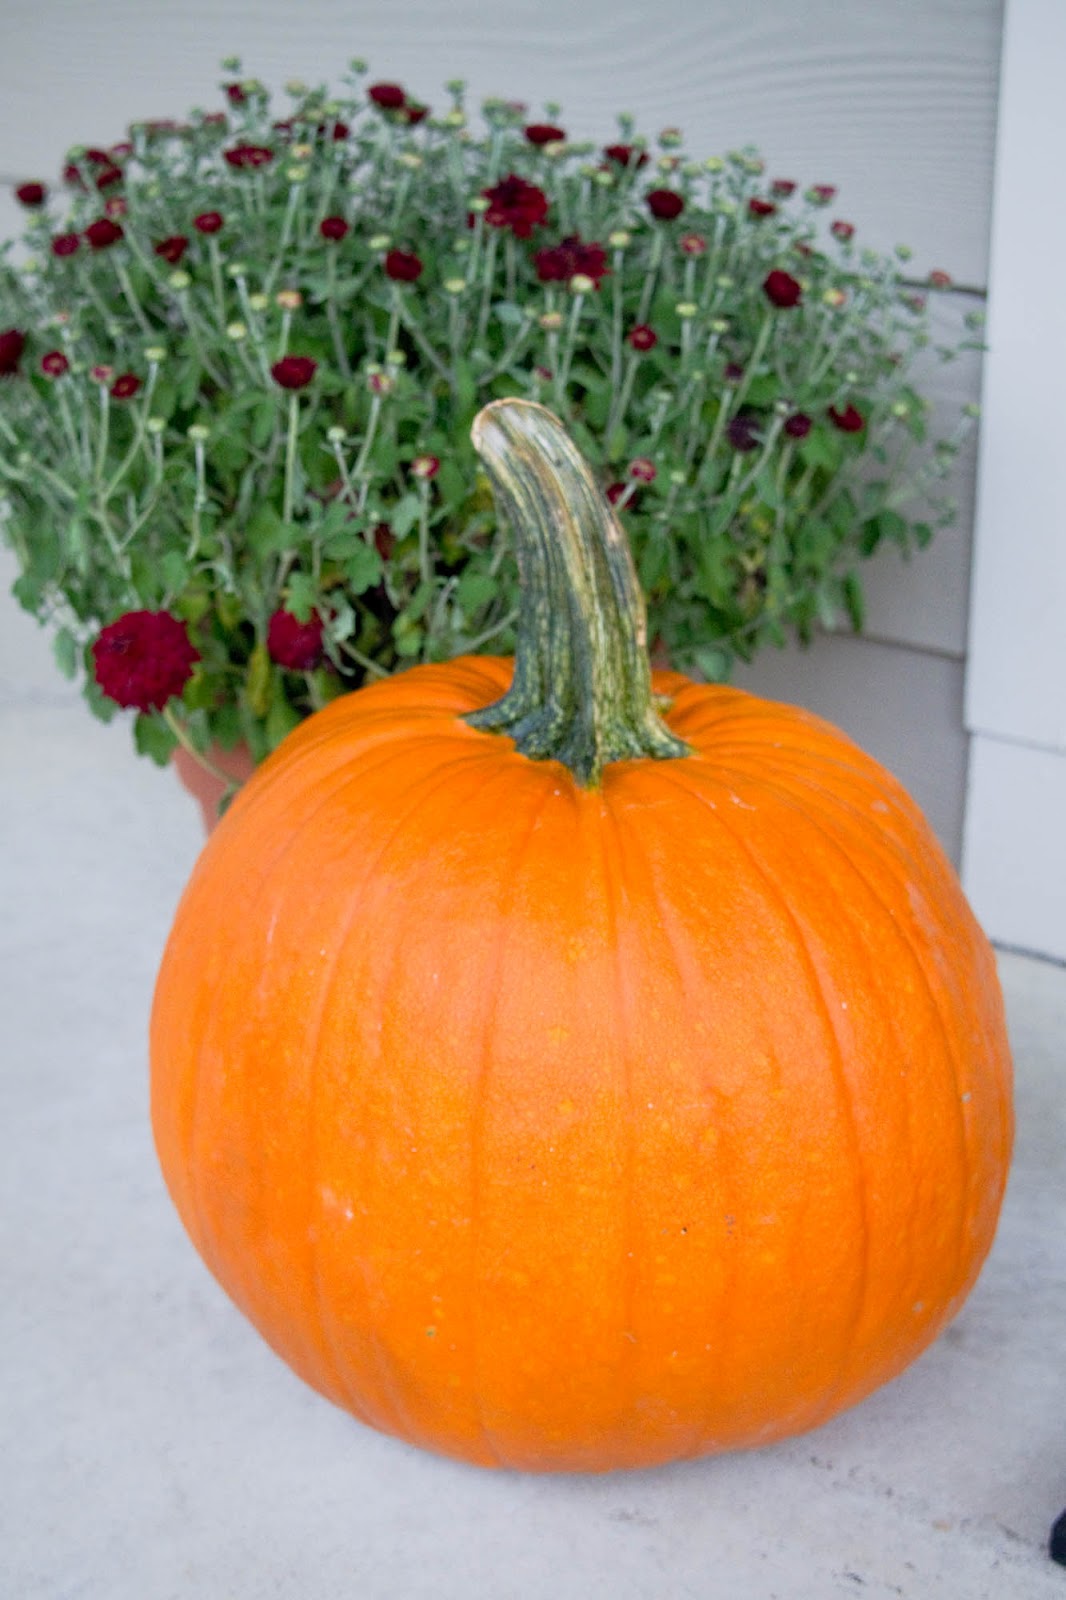
I purchased some mums at the grocery store and scored these giant pumpkins at Wal-Mart for only $3.98 a piece! I almost purchased smaller pumpkins for $6.99 at the grocery store, but decided to hold off. My friend Kim told me a couple days ago that Wal-Mart had nice looking pumpkins on the cheap (Thanks, Kim!), so I broke my New Year's Resolution to not go to Wal-Mart this year (haha!) and went and picked up two pumpkins for the door.
I can't wait until my mums fully bloom! I started noticing moths in them, so sprayed them last night with some gentle plant spray. Hopefully they'll get healthy again soon and give me some nice blooms!
Hope you enjoy!

Linking up to Southern Hospitality's It's Fall Y'all link party!


Tuesday, September 18, 2012

Fall Table Decor

I love fall! I count down every year, eagerly waiting for fall. I hate the heat of summer. Heat makes me feel very sluggish and generally makes me not feel well. Stupid asthma keeps me inside most of the summer because I can't breathe when it's hot and hazy. By the time fall comes around, I'm so excited for cooler weather. I can finally go outside again, I can take deep breaths (always a plus, ya know...), the air is crisp and cool, the holidays are right around the corner, and Starbucks brings back pumpkin spice lattes! ;) I love this quote that a friend sent me:

"Delicious autumn! My very soul is wedded to it, and if I were a bird I would fly about the earth seeking the successive autumns." -George Eliot

I think that quote needs to go in a frame at some point, don't you? ;)

I've been doing lots of fall decorating around here lately and just finished my dining room table decorations. I tried to go a little more neutral this year than I have in previous years since the brighter fall color palette looks terrible with our dining room color scheme. I think I'll go even more neutral and lighter next year!

For the table runner, I used a cream color runner I had on hand and laid burlap over the top. Then I added a leaf garland and some gourds that I scored on sale at Micheal's, a pumpkin and a couple candles I had on hand, and some acorns I found in the Target dollar spot.
I also used burlap to make napkin rings for our everyday napkins and stuck a leaf in each napkin. I found the leaves last year at the Dollar Store!

Now I just need to go bake something pumpkin to enjoy at our decked out table! :)

Linking up to The Lettered Cottage for the It's Fall Y'all link party!


Thursday, September 13, 2012

To Do List: Dining Room Edition

Now that I've shared our dining room table reveal with you, I'll let you in on our future plans for this room. Here's our wishlist:


1.) Build a bench for the table. We'd like to be able to seat 6 instead of just four.


2.) Change out the chandelier. The dark green lampshades are not my thing. Our breakfast nook and pendant lighting fixtures are a modern vintage style from Schoolhouse Electric, so I'd like to keep the theme going. Maybe something like this with shades that match the breakfast nook and kitchen lights or the clear shades:


Or something like this:

Alternate View

Of course, those are inspiration pictures. Those price tags are a bit much. I have been cursed with expensive tastes. ;)


3.) Buy a buffet for storage. Thinking something along these lines, just either the same wood color as our table top or white:

Torrance Buffet

I love the clean lines and all the storage space. I have no pantry, so really need the extra storage. Most buffets have a wine rack or open shelves, so one that packs this much storage is hard to find!


4.) Accessorize the walls more. I really like the white frames with white mats we have going on in here. I just want to add a few more pieces to make it look complete.


5.) Possibly add wainscoting to the bottom half of walls.


I'll keep you all updated on our progress. Now for more organizing projects... :)

Sunday, September 9, 2012

Dining Room Table Reveal!

Hooray!!! We finally finished the table! And I thought we could get it all done in one or two weekends. Ha!

To refresh your memory, here's my first post about the table. It's come a long way from its nicotine stained, smoke smelling days!

Here's the before:


See how the previous owner left on the plastic over the chair pads? Yeah, that didn't help. Even the foam on the inside of the chairs reeked like smoke and were all yellowed. Yuuuuuum. 


A little during action...see the difference between the primed chair and the yellowed chairs? 


Left: Picked out fabric, Right: Getting ready for the last coat of varnish


And finally, the after!


And some before/after comparisons:


This project seemed to drag on and on because we could only work on it late at night and on weekends during Little One's nap, but we're really happy with how it turned out! Totally worth it! Here's what we did: 

-Cleaned and sanded all painted surfaces
-Washed wood table top over a dozen times with vinegar solution to get rid of nicotine layer
-Primed all painted areas with oil based primer
-Applied two coats of latex enamel paint
-Applied two coats of water based polyurethane to all painted surfaces and wood table top
-Sprayed a light coat of spray varnish that we had on hand to the underside of the table to seal in any smoke   
 smell
-Stripped chair pads down to wooden base and did a quick coat of white spray paint to the wooden bases  
 to seal in any smoke smell
-Put on new foam, batting, fabric, and dust cover to chairs
-Scotch-Guarded fabric
-Put felt pads on bottom of chair and table legs

DONE! WAHOO!!!!!!!!!!!!!!!!!

Linking up to Thrifty Decor Chick's before and after party! 


Saturday, September 1, 2012

Sour Cream Coffee Cake

This morning, we ALL slept in! It was glorious! To celebrate, Little One and I baked our favorite coffee cake together. Here's the recipe. Enjoy!


Sour Cream Coffee Cake

Cake Ingredients: 
1/2 cup softened butter
1 cup sugar
2 eggs
1 cup sour cream
1 tsp vanilla
2 cups all-purpose flour
1 tsp baking powder
1 tsp baking soda
1/4 tsp salt

Topping Ingredients:
1/2 cup sugar
2/3 cup packed brown sugar
4 tsp cinnamon 
1/2 cup chopped pecans

Directions:

In a mixing bowl, cream butter and sugar. Add eggs, sour cream, and vanilla; mix well. Combine flour, baking powder, baking soda, and salt; add to creamed mixture and beat until combined. Spread half the batter into a greased 9x13 baking pan. Combine topping ingredients; sprinkle half of topping over batter. Add remaining batter. (Batter will be thick, so drop it by spoonfuls and spread the best you can. It doesn't need to be perfect.) Sprinkle on remaining topping. Bake at 325 degrees F for 40 mins or until done. Yields 12 servings. 

Recipe adapted from Allrecipes.com.


Related Posts Plugin for WordPress, Blogger...