Thursday, July 24, 2014

Banquette Inspiration

With all of our living room projects going on, our big organizing project has had to take a back seat for a while. But, we've recently picked up some steam, which I'll update you on soon!

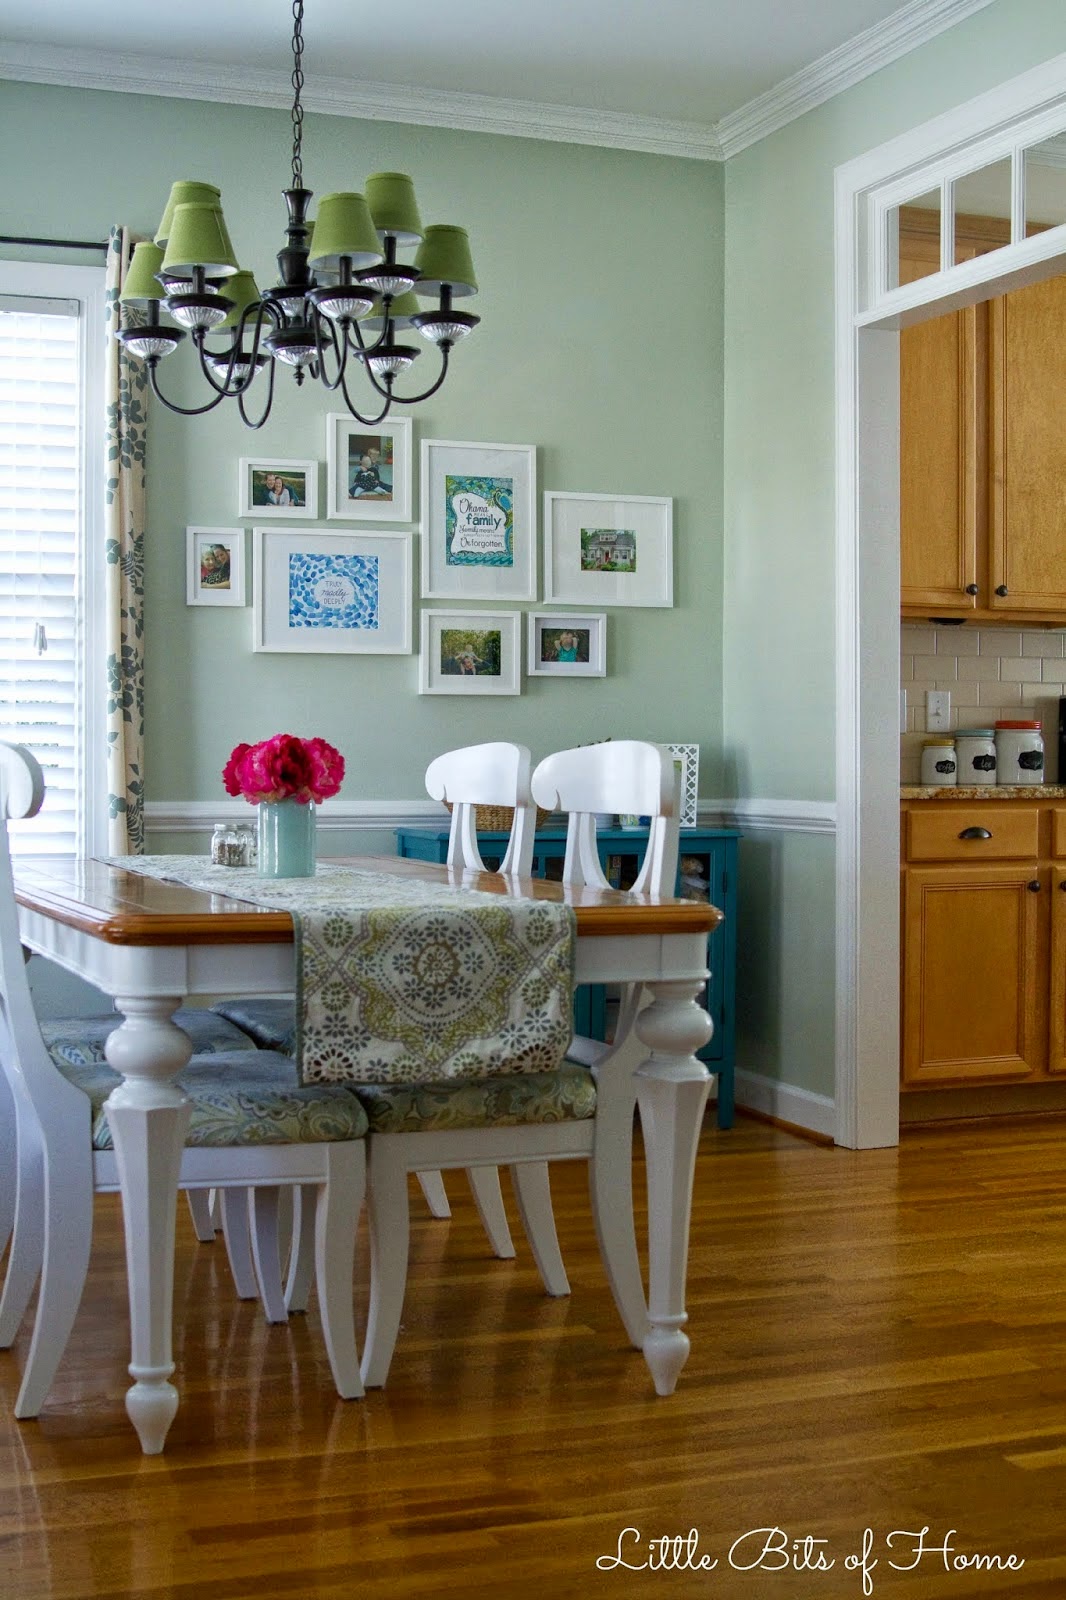
There are a couple trouble spots in our house that we are trying to find creative solutions to organize. One of those trouble spots is our breakfast nook. We come in and out of the house through this room all the time, so it becomes the drop zone. I so wish we had a mud room to go through before you hit the breakfast nook, but no such luck. Tools, shoes, mail, returns, library books all end up in here. We hardly ever eat at this table, but we do use the table frequently to paint, play board games, play with play-dough, color, etc. So, we are working on ways to help our breakfast nook serve dual purposes and act as a combined mudroom and eating area. Here's a reminder of how the room looks now. Excuse the bad, old picture. ;)
Jeremy had a great idea to put in banquette seating with lids that flipped up and have built in storage underneath. We could use it to store our shoes, frequently used tools, kids bags, and even board games! We've been discussing how we would build it and have been planning it all out. Mad props to my hubby for coming up with a great storage solution!

I've been scouring the web for some inspiration, specifically looking for banquettes that do not have a back, instead have low windows behind them like ours will have. Enjoy a few of my favorites!
Images via Cococozy
Can't wait to get to work on this project! But, gotta save up the cash first! :)

Friday, July 18, 2014

Living Room Makeover: A Change and a New Plan

Tell me this happens to you... You start one project and it rolls into another one before you finish the original project? Anyone?!

We had tackled the new furniture, new rug, new drum stool, new pillows and end table, new curtains, and had finally finished the last thing--painting. We should be done with the living room, right? Insert maniacal laughter here. ;)
As we were clearing our living room out to paint, Jeremy mentioned wanting to move the TV over the fireplace. He's mentioned this for years, but I'm not a huge fan of the idea. We had a giant TV cut out over our fireplace in our last home and always hated it. It drove me bonkers, especially when we still had an old TV. Even with a newer TV, it was still a big dust and cord pit. If we stayed there, we would have built some doors or something because it drove me nuts. Here's an old picture of Jeremy and I back at our old house. You can kind of see the TV pit in the background. Arg. On a random note, I'm not a huge fan of my hair in this picture, but it really gives me the itch to chop all my hair off!
Every time Jeremy mentioned moving the TV above the fireplace in this house, I cringed because all I could visualize was our previous TV pit. However, as we were moving furniture out of the living room, we were really enjoying how spacious the living room was looking. He convinced me to try moving the TV so we could put our new chair in the corner where the TV was. It would open up an entire wall! After we painted, I agreed to give it a test run and I'm sold. He wins! ;) I love all the open space we have now!
It didn't come without compromise, though. I wasn't sold on the look of the TV above the fireplace. It looked really dark up there and kind of got lost. But after some brainstorming, I thought some bright white planking would brighten things up and make the TV look more intentional up there. Here was some of my inspiration that I've loved over the years.
Jeremy liked that idea, so that's where we're headed next! Here's how it's looking right now. Basically, it's a giant, undecorated, tangled up mess. 
Gorgeous, right? Ha! I have no idea why the coloring is so weird in these pictures! Gray walls are tricky to photograph!
Because this is an unexpected project that we haven't saved for yet and we do all of our projects with cash, it will need to happen in two phases to give us time to save up.

Phase 1: We'll add planking from the mantle to the ceiling and replace our black cords with white cords to make them a teeny bit easier on the eyes. 

Phase 2: We'll replace our TV with a larger TV that is easier to see from the couch. We'll wall mount it and have it wired so there will be no cords showing. Yay!

Can't wait to get started on the planking this weekend!

Monday, July 14, 2014

Living Room Makeover: Paint

Well, all that you've been hearing on the blog the past week have been crickets, huh? We've been on vacation mode and it has been wonderful!

Jeremy had an entire week off which was amazing! We had planned to go to the beach and do some fun stuff around town, but a hurricane squashed our beach plans, then Jeremy came down with a nasty summer cold...on vacation. Poor guy! But, we thoroughly enjoyed all the family time and just hanging out around the house together! He's totally the family favorite. :)

Then, this past weekend, I went on a retreat with the women from my community group.  It was so relaxing and wonderful! I mean, look at this place!
While Jeremy was off--before he got sick--he was so sweet and painted the living room for me! I was really struggling to pick out a paint color. I wanted a gray that had blue/green undertones. Some grays were too blue, some too green, some too gray, too dark, too light, AHHHH! It about drove me crazy! 8 paint tests later...we finally found the perfect shade!
The gray we picked is called Gray Owl from Benjamin Moore. I first saw it on The Lettered Cottage and about 6 paint samples in, decided to give it a try. I originally tried it lightened 50%, but it was a bit too light and didn't provide enough contrast with the couch. We ended up getting it in full strength and it's just right! I really love it 50% lightened, too, and am planning to use that to paint our bathrooms! We had it mixed at Sherwin Williams. We love their Harmony paint! It has great coverage and hardly any fumes!
We tested the paint on each wall to see how the sun hit it, but I was still struggling to visualize it on an entire wall. I found this inspiration picture from West Elm and it gave me the confidence to finally commit to the color. I loved that they used a beige couch like we have, so it was easy to picture how the gray would look with beige.
Here it is in our living room! It's was really hard to get an accurate picture of the paint color, but you can get the idea!
We did some spur of the moment rearranging when we were putting the living room back together. More on that soon!

Wednesday, July 2, 2014

Five on Friday

Except it's Wednesday. I'm two days early. :) Jeremy has the week off and we are busy enjoying family time, so this is probably the only time I'll blog this week. Here's my five things!

1) Target Clearance- I really liked these poufs when I saw them a couple months ago, but $40 seemed too steep of a price to me. But, waiting paid off because these babies were 50% off in store (looks like they're still regular price online)! I picked one up for some much needed seating in the playroom! 
2) This View- This was my view yesterday. My man wielding a paint roller. We (well, mostly Jeremy), finally got the living room painted yesterday! More on that soon!
3) Calla Lilies- I LOVE when my flowers bloom out front! The crepe myrtle is blooming and so are my calla lilies! Too bad the crazy spring freezing killed my hydrangea buds. I'm so sad they didn't bloom much this year. Thankfully, they are healthy, so I'm hoping they'll do better next year!
4) Foaming Soap- I never used to like foaming soap, but I've discovered that it's the best for kids! It's much easier for them to rinse than traditional soap! Now, I'm hooked! Oh, and word of advice, don't get the Thomas and Friends foaming soap. It's dyed red so you'll have red soap drips all over your sink! 
5) This Song- I really like the song God is Able by Hillsong! Check it out!
Related Posts Plugin for WordPress, Blogger...