Tuesday, September 30, 2014

Paint with Me: Planning and Supplies

Welcome back to another day in the Paint with Me series! Catch up here on Step One: Gather Inspiration. Today, we'll cover planning, stencils, and supplies. 
Once you have a good idea of what you are going to paint, start sketching your ideas out on scrap paper. Sketching them out allows you to see the layout and and play with the proportions. For my most recent painting, I drew several different configurations until I landed on one that looked right. Here are some of my doodles. 
If possible, hold your canvas up to the spot on the wall where you will hang it. This will help you figure out if you want it vertical or horizontal. I originally wanted the space shuttle painting to be vertical, but when I held my canvas up above Little Man's bed, I quickly realized that it looked better horizontal and was able to reconfigure my sketches to make it horizontal. 
After I figured out how I wanted my painting to look, I brought out my canvas to figure out how big I wanted everything. A trick I've figured out that has really helped me is to create a stencil for larger shapes. I use scrap paper/poster board/wrapping paper to draw the shape out on, then cut it out. I like this method because on scrap paper, I can erase and try again as many times as I need to. On the canvas, you can't erase well without messing up the paint, even if the paint is completely dried.

If you aren't great at free handing, search Google Images for a picture of what you are looking to paint. Blow it up on your computer, hold a piece of paper up to your screen, and trace that bad boy! :) If you need a larger stencil, you can have the image printed at an office or shipping store for cheap and then cut it out. Whatever works! This method also works great for lettering! Just type out your words in your desired font, print them, then cut them out! 

If you want to get really sophisticated, pick up a package of tracing paper at Michael's! I never seem to have any on hand, but it is super easy to use! All you have to do is lay it on the canvas (the package will tell you which side to put down) then lay your shape or letter print out on top of the tracing paper and trace the outline, pressing firmly. It will leave a nice outline for you on your canvas!
You're almost ready to paint! Ready to gather your supplies? Here's what you'll need: 

Canvas- I really like the wrapped canvases with no staples on the exposed sides because it gives me the freedom to skip framing my painting. If you plan on framing your painting, any type of canvas will work. I usually wait for a sale or use a coupon to make them very reasonably priced. I found this large canvas for $5!
Paints- If you are a beginner/craft level painter, I recommend starting with inexpensive craft acrylic paints because you don't have to mess with mixing colors. There is an entire aisle of them at Michael's in every color of the rainbow and typically vary in price from .59-$1.29 per bottle. Do a mental walkthrough of the colors you will need, referencing your sketch and any Google Images you find helpful. While you are shopping, make sure to hold the bottles of paint next to each other to make sure the shades look good together. Always pick up a bottle of white, just in case you need to lighten a color! 
Brushes- Get good brushes! Brushes are not a good place to skimp and be cheap. Look for the artist brushes in the professional painting aisle. I bought the inexpensive professional brushes. It's been several years now, but I think they ran about $2-$5 a piece. If you are holding a Crayola paint brush from your child's watercolor set, but that thing down right now. Ha! ;) It will not give you desirable results. Trust me! 

Grab a good large brush, a rounded medium brush, a liner brush (a must!), and a smaller brush or two for details. These are a few of my favorite brushes that I use for most of the paintings I do. If you have zero brushes and are not sure what to choose, these would be a great place to start!  
Ok, that was a lot of information! In my next and final beginner Paint with Me post, I'll show you some tips and techniques to help you get started! I'm thinking video blog post... maybe. Chickening out? Probably. Which format would you like best? Video or typical blog post with pictures? 

Tuesday, September 23, 2014

Paint with Me: Gather Inspiration

I've been cooking up this blog series for months to help you create your own artwork! When I can't find or afford artwork that's just what I'm looking for, I usually just paint it myself. When I say that, most people look at me like I've gone crazy and say, "Oh, I could never do a painting!" Well, I'm here to tell you that you can! Really! Join me as I go through the process of painting a picture and see for yourself that you can do it, too! :) 

Now, I'm not saying I'm an amazing painter or anything! My grandma took many painting classes and has done dozens of paintings. She has an eye for art and picks up on shadows and lighting all around her as if all the world is a painting waiting to happen. Growing up, she taught me how to paint and did several paintings with me. I really cherish those days of painting with her. I know some about painting from her, but definitely am not good enough to really know every technique and be an amazing creative. If I'm not sure how to get a look I want, I wing it. I experiment until I get it how I want. I'm no Bob Ross, but I hope it inspires you to take chances and experiment with paint! 

Today, I'll walk you through the first step of the process, and hilariously, the longest step for me...
Most of the paintings I've done have been inspired by something in my life. That's part of the beauty of doing your own painting--creating meaningful artwork. Not every painting has to have a deep meaning, though. I've done a couple just because I thought it was pretty and would go well with my decor. I'll walk you through a couple of the paintings I've done and the meaning behind them to give you some examples. 

Here's the first painting I did by myself without Grandma's help. We had just moved from Florida and I wanted something beachy in our apartment. It's far from perfect, but I loved the palm tree. It looked very similar to a palm tree down the street from my house in Florida that I admired frequently. 
Excuse the photo quality and the mess! This was before my DSLR days.

When we moved into our first home, we needed something large for above our couch. I had just made the switch from beachy colors to jewel tones (And now I'm back to beachy! Ha!) and didn't have anything that would work, so I came up with my own painting. It was actually really easy! I had it over our couch for the three years we owned that house, then it was over our fireplace at this house until last year! Again, it's far from perfect, but the colors and style were exactly what I was wanting. 

Remember this painting I did for Little Girl's room? You can read the full story here, but I really wanted a verse to pray over her. I loved this verse and simply used her crib bumper for the design and color inspiration. I did this painting with simple craft paints!
This summer, I painted this little number inspired by the World Market painting I included in the mood board I did back in this post. I painted it as a birthday present for my grandma. The meaningful part was simply doing a painting for her. She loves that I continue to paint. It's a special thing we share and behind it, there are lots of memories of us painting together. I really liked the World Market painting and thought something similar would be bright and cheery for her room.  

And, of course, the painting I posted yesterday. Again, done in simple craft paints! 

So, whether it's a meaningful thing or place, a verse or quote you love, or simply a color palette you're working with, there's inspiration all around you! 

Up next--Planning!

Monday, September 22, 2014

To the Moon and Back

Stay tuned--the rest of the week I'll be doing a series called Paint with Me that will walk you through the steps and techniques to help you do your own painting! If you have any specific questions about painting, please leave it in a comment here or on Facebook and I'll try to answer it this week! 
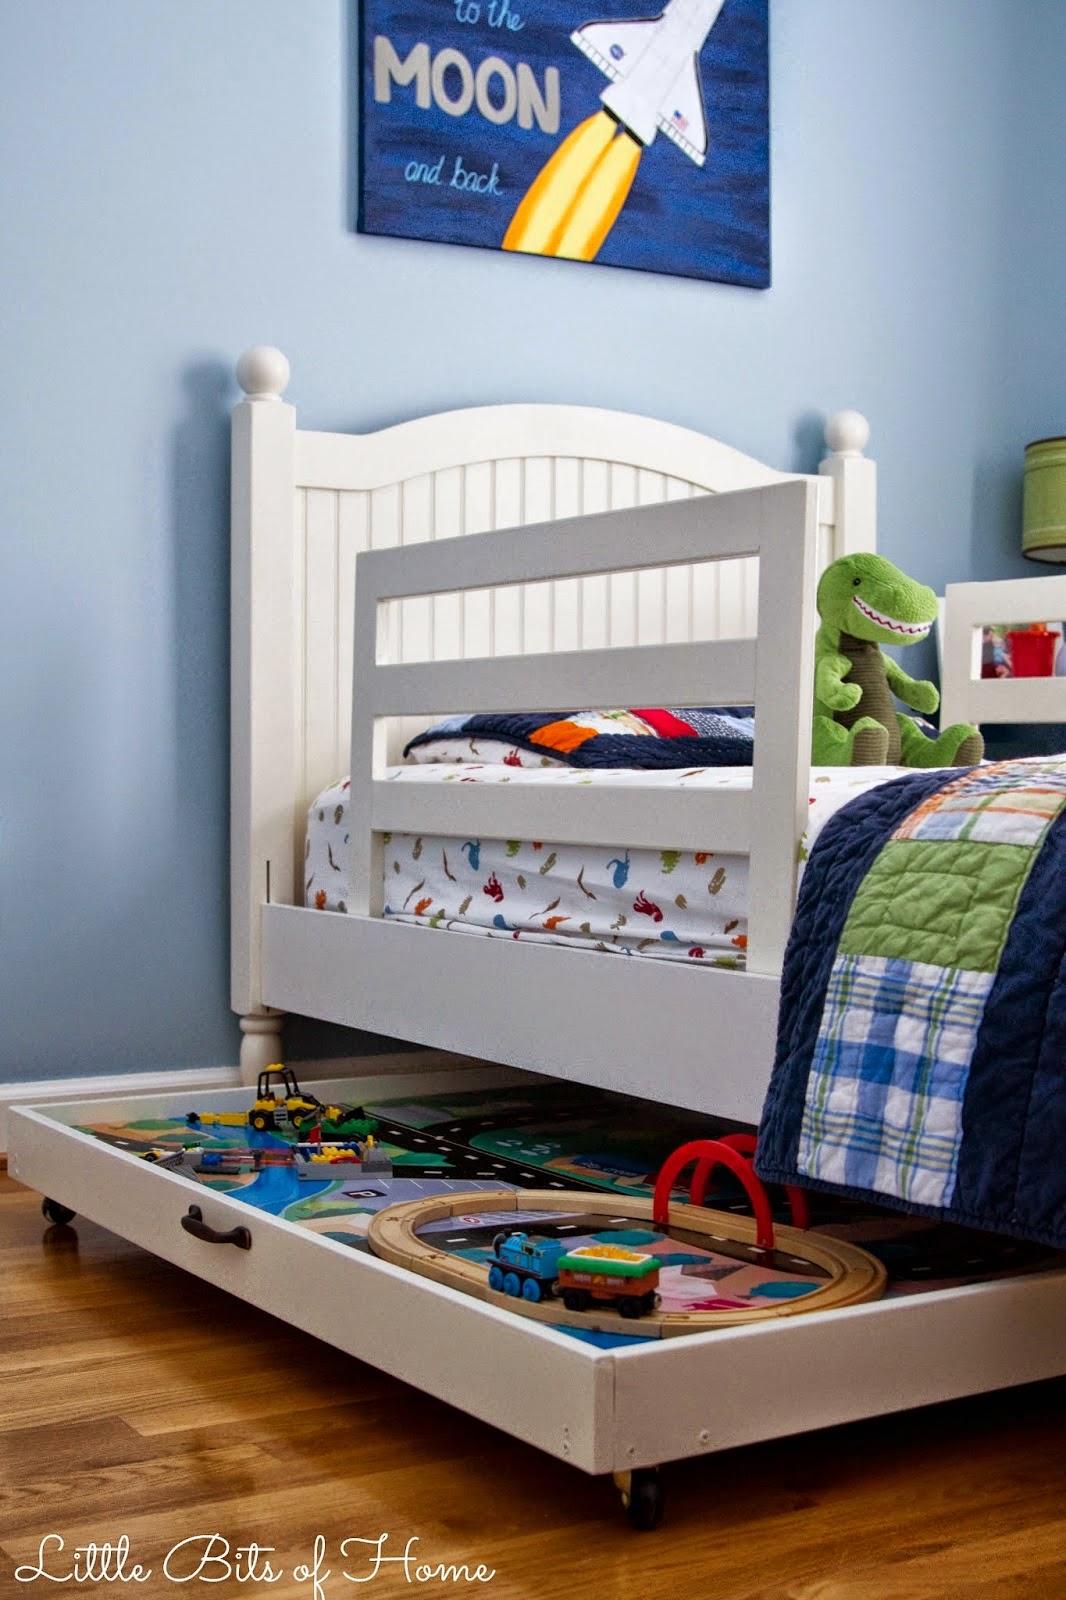
Little Man has officially outgrown his nursery decor, so we were on the lookout for new artwork for above his bed. I decided I'd paint him something just for him. Problem is, I wasn't quite sure what.

After months of stewing, I finally felt inspired by an idea! Little Man is fascinated by NASA and says he wants to be an astronaut when he grows up. He loves all things outer space! Growing up, my middle school science teacher (Hi, Ms. C!) instilled a love of space in me and I wanted to become an astronaut, too. I had a big poster of the space shuttle as it launched in my bedroom. I used the mental image of that poster as the springboard for my painting plans.
 One thing Jeremy and I are always saying to Little Man is "I love you to the moon and back!" to which Little Man will compete and say he loves us to the moon and then to the stars and back and even further. It's really sweet! I decided to combine his love of outer space and the sweetness of this expression in one painting.
Little Man loves his painting! After we put him to bed at night, I sometimes hear him reading it to himself. It's so rewarding!
I purchased the canvas at Michael's. I happened on an amazing sale and only paid $5 for the canvas! Crazy! I purchased simple craft paints in the colors I needed and used brushes I already had on hand. The cost to do this painting was around $10! For this large of a painting, that's very inexpensive!
I won't lie, it took me several hours and was tedious, but it really was not hard at all!

I'll be back with the first step of the painting process tomorrow!

Linking up to The Turquoise Home, Elegance and Enchantment, and Thrifty Decor Chick!

Thursday, September 18, 2014

Chicken Bacon Ranch Pasta

It's been forever since I posted a recipe! With the constant nausea associated with my pregnancy with Little Girl last year, then the chaos of this year happening, I've been stuck in a dinnertime rut. I finally tried out a couple new recipes this summer and found some keepers! 

Jeremy is not a pasta lover. Sigh. As in, he pretty much hates all pasta. The only pasta I can get him to eat is my homemade macaroni and cheese. He doesn't even like the boxed stuff. I, on the other hand, love pasta and could eat it all day! I saw this recipe for Chicken Bacon Ranch Pasta and thought if two meats can't get him to like a pasta dish, nothing can. Well, my friends, the two meat theory (let's get real, it's all about the bacon!) worked and he loves this dish. He even requests it! Finally, after 7 years of marriage, I have found a pasta dish to serve for dinner! Hooray! :)

Try it! I bet even your pickiest eater will love it! 


I am so NOT a food photographer! Haha! Recipe adapted from Chef in Training. Find the original recipe and a much prettier picture here


Chicken Bacon Ranch Pasta

Ingredients

-10-12 oz penne pasta
-2 cups cooked, chopped chicken (I've found that a rotisserie chicken is amazing in this because it is so moist!)
-3/4 cup crumbled bacon (I use about 2/3 package of cooked microwave bacon. Less time, less dishes!)
-1/4 cup butter
-1/4 cup flour
-2 cups milk
-1 tsp onion powder
-1 tsp garlic salt
-1/3 cup ranch dressing (I like fresh ranch for this recipe, so I pick up a package of Hidden Valley ranch dip and mix it with sour cream. I save the leftover ranch to dip my pretzels in! Ranch that comes in the refrigerated section in the produce department would be good, too.)
-1 cup shredded cheddar cheese

Directions

Preheat the oven to 350 degrees. Boil pasta in a large pot. 

While pasta is cooking, melt butter in a saucepan over medium heat. Whisk in flour, onion powder, and garlic salt until smooth and bubbly (just a few seconds). Remove from heat and add milk, then return to heat and bring to a boil, stirring frequently. Boil and stir for 30 seconds. Remove from heat and stir in ranch dressing. 

Drain cooked pasta, then return pasta to large pot. Add chicken, bacon, and the sauce. Stir to coat. Stir in cheese, then pour into greased 9x13 casserole dish and bake for 15 minutes. 

Enjoy! 

Tuesday, September 16, 2014

Simple and Neutral Fall Mantel

Thanks for all of your kind comments here and on Facebook regarding my post on Friday. I usually try to keep this blog my own happy corner of the internet, but sometimes life is really hard and it felt disingenuous to not share. So thankful for all of your support! 

On a much lighter note, I started decorating for fall! I love this time of year! My body does not deal well with heat, so the cooler weather makes me so excited! Not to mention how gorgeous the leaves are and the anticipation of the holidays right around the corner! 

I decided to do something completely different this year for my fall mantel. You can check out my past mantels here and here. Now that we have a much cooler color pallete in the living room, I decided to do a neutral fall display. I was afraid I would find it bland or boring, but I have to admit, I'm loving it! 

On the right side, I simply tweaked my everyday decor by adding some burlap and leaves to the vase of cotton. When the pumpkins come in, I'll add a little white pumpkin by the clock. The clock is a recent purchase from World Market. I had the worst time finding cotton at a reasonable price! I finally found some on Decor Steals. I also recently found some more at Michael's in their fall florals. Finally! Man, I wish I knew a cotton farmer... 

Side Note: I am still without a computer, so have no way to edit my photos. So please excuse the coloring in these pictures! 
On the left side, I brought out my candlesticks that I made over a couple years ago and plopped some pumpkins on the tops. I layered in a photo of my Little Man playing in the leaves last year and some acorns.
I was going for neutral and kind of rustic with the pumpkins. The blue pumpkin is from Michael's. The others are also from Michael's that I've had for a while and gave a makeover. They were a bit beat up, so I covered them with burlap. The lighter ones are covered in strips of burlap hot glued to the pumpkin. The darker ones are covered with a larger piece of burlap secured with hot glue, using twine to create the lines. To make all the pumpkins easier to cover, I popped off the stems, then pushed them back on when I was finished. 
I found these adorable burlap leaves at Michael's for only $1.99 per pack! I strung them on some twine to create a leaf bunting. It's one of my favorite parts of the mantel! 
Now before you scroll to the picture of our entire fireplace, I need you to use your imagination, ok? It is still under construction, so just imagine the paint touched up, beautiful white planking from the mantel to the ceiling, and the TV mounted on the wall with NO CORDS hanging down. Imagining that? Ok, now scroll...  Hahaha! 
Always a work in progress, right? ;) Happy Fall! 

Friday, September 12, 2014

Heavy Hearted

I've been hard at work checking projects off my list and will be sharing them with you next week!  But, today my heart is heavy. 

My heart is heavy thinking back to September 11th, 2001 and all the lives that were lost that day. People always ask if I remember where I was on that day.  How could I ever forget? 

I saw this video today and had not heard this before. Ordinary people turned heroes. 

My heart is heavy today, my due date for our precious second baby that we miscarried early last year.  I bought flowers again this year in honor of our baby we never got to meet but loved so much.
2013 flowers
'
2014 flowers

And, my heart is heavy missing my father in law who passed away this year.  Sunday would be his 51st birthday. He was incredibly hard working, loved his family and would do anything for us,  and was one of the most fun people you've ever been around. I'm so thankful I got to call him Dad for the last 11 years.

Sorry for a sad post, just keeping it real and letting you all in on our lives. I'm thankful for the promise that one day God will make all things new. I'll catch you all next week with some happier things... fall decor and a new painting I just finished. Have a great weekend and go hug your loved ones!
Related Posts Plugin for WordPress, Blogger...